This is a quick blog about installing the AL language for Visual Studio Code from a .vsix file.
When you create a developer preview Azure VM for AL development, you get a landing page to access this VM. The script that creates this VM will put all the components on the VM that you need to do your development, including the correct version of the AL Language extension for VS Code.
If you want to do your development locally, you will need to put the right version of the AL Language extension on your local installation of VS Code. Lucky for you, there is a link on the landing page for your VM that will download the installation package into your downloads folder. The file has the extension .vsix, which is what VS Code needs.
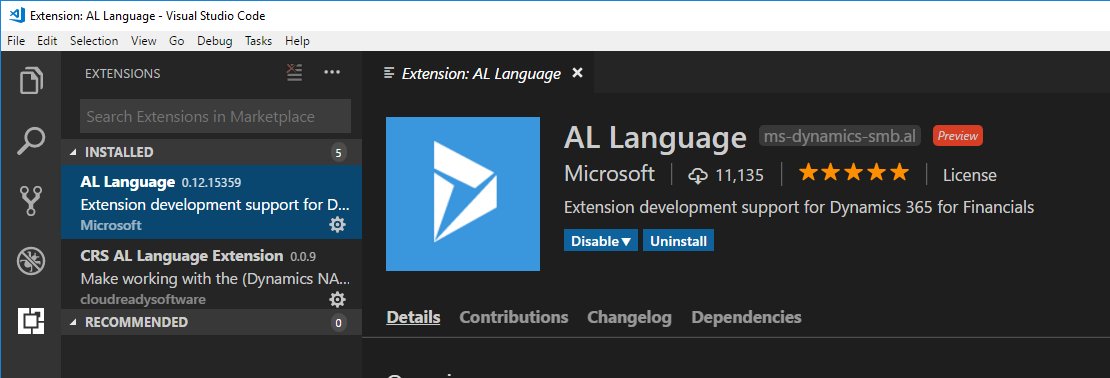
All you need to do is press Ctrl+Shift+P and type ‘vsix’ in the command palette, and VS Code will suggest ‘Extensions: Install from vsix…’. When you select this, you need to browse to the file, and hit the ‘Install’ button. If you already have another version of the AL Language installed, you’ll need to disable that, so that there is no confusion about which one VSCode uses.