My struggle to get the new translation files right has been real and too long to recount on this blog. When I finally got it right, it felt like it was more of a coincidence than actual skill to finally get it done.
It started with the app submission checklist, where one of the requirements is to “include all translations of countries your extension is supporting”. The app that I was working on was targeted for the US market, so all I needed was a translation file for ‘en-US’. The page on docs that explains translations explained what I needed to do. Or did it?
Turning on the translation feature in the app.json file and replacing all ML captions and such was easy enough. The trouble begins when you run into the details.
As soon as you rebuild the app, VSCode generated the default translation file in a new folder called ‘Translations’, and the translation file will be called “<YourAppname>.g.xlf”. Because the development language is ‘en-US’, this generated translation file is also specified for the ‘en-US’ language.
The translation page on Docs specifies that you need to copy the generated file “to avoid that the file is overwritten next time the extension is built”. Each time that you build the app it will re-create the generated xlf file. What that means is that you need to make a copy of the translation file and use the copy to do your actual translation work.
So I did make that copy, and because I was working on a US only app, I felt I was done with my translation. I had the generated file in my workspace, I had a copy of it for the ‘en-US’ language, I thought I was good to go. Alas, the app submission failed because they could not find any translation file in my app. Something was missing from my translation file.
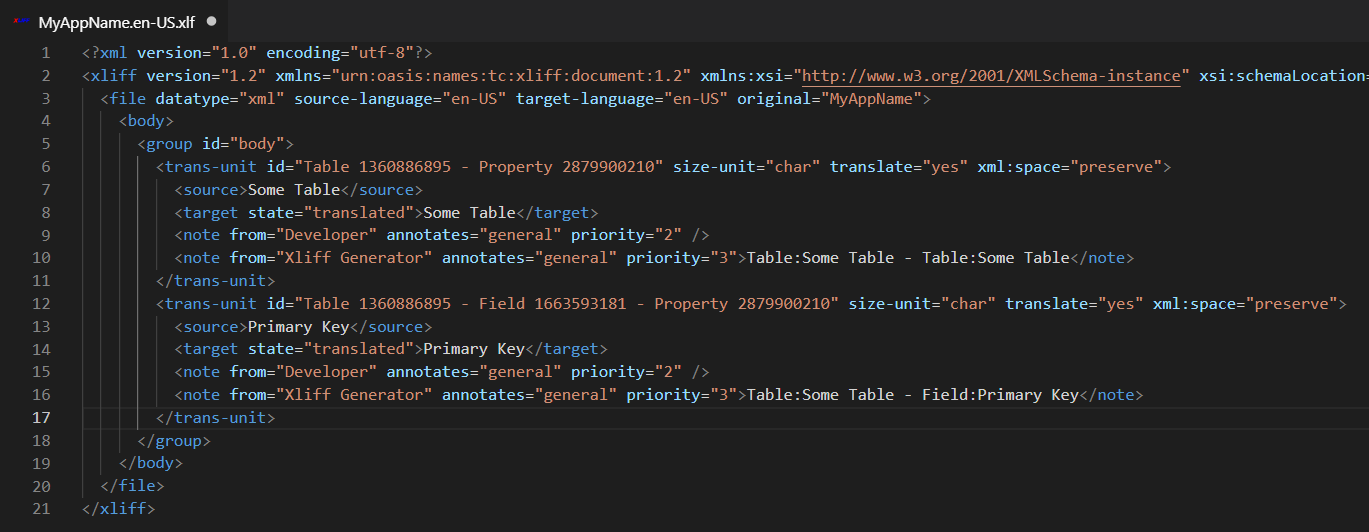
The generated file only has nodes for “source”, which comes from all of your text strings like labels and captions and comments and such. The translation itself is in a node that is NOT included in the generated xlf file, you have to create that. The name of this node is “target”, and this is where the actual translation goes for each source element.
So, I copied and pasted all of the source nodes, made target nodes out of them, and by this time I had a direct line to the validation person at Microsoft, who was willing to hop on a Skype call and look at my workspace. He was also surprised to see that my workspace DID have the translation file, while the app file that I sent to him did not. As it turns out, the target node needs to have an attribute called “state” with a value “translated”.
In order to get the translation file in its proper state, you should use the proper tool, and I found that the Microsoft Multilingual app toolkit editor is the easiest one to work with. It puts the right elements into the xlf file, and when I used that tool, my app file was finally accepted.