Whether you’re working on AppSource apps or Per Tenant Extensions, or even a code custom on premises extension, by now every one of your AL projects includes a test app right? This really means that every development project is really two apps. One is the app itself, the other the test app. In this post I’ll tell you an easy way to organize your workspace.
As you know, each AL workspace is essentially a folder with a file for each object, plus the necessary files to define the app itself. Since you are now also using source control, each AL workspace is also a Git repository. Logically, you would then have a repo for the app, and also a repo for the test app. What if I told you that you could have a single repo that includes both AL workspaces, all at the same time.
Start the Repo
First, you create the repo itself, whether you’re on GitHub or Azure DevOps. This is essentially an empty repository, we will create the AL workspaces in a bit. Let’s call it ‘MyRepo’. I’ll include a .gitignore and a readme.

I’ll clone this repo in VSCode. Set up the .gitignore file for AL, and VSCode is now tracking everything that happens in this repo. Normally, you’d fill the new folder with the AL workspace files, so that this single repo has one single AL workspace. To have the app as well as the test app in this repo, you simply create two AL workspaces in the same folder.
Add the App Workspaces
If you have existing apps, just copy the folders into the repository. If you are starting a new (test) app, use the ‘AL: Go!’ command, saving the project in the ‘MyRepo’ folder. Repeat for the test app. Each time that you create a new AL project, VSCode will automatically open the new workspace. To see the repo itself, re-open the MyRepo workspace and you will find the two apps in the same root folder.
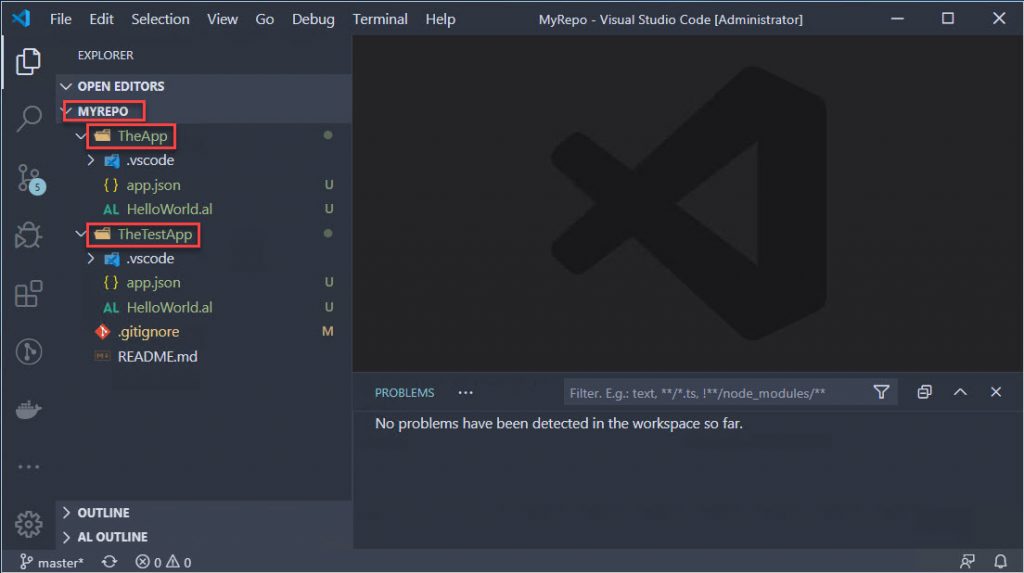
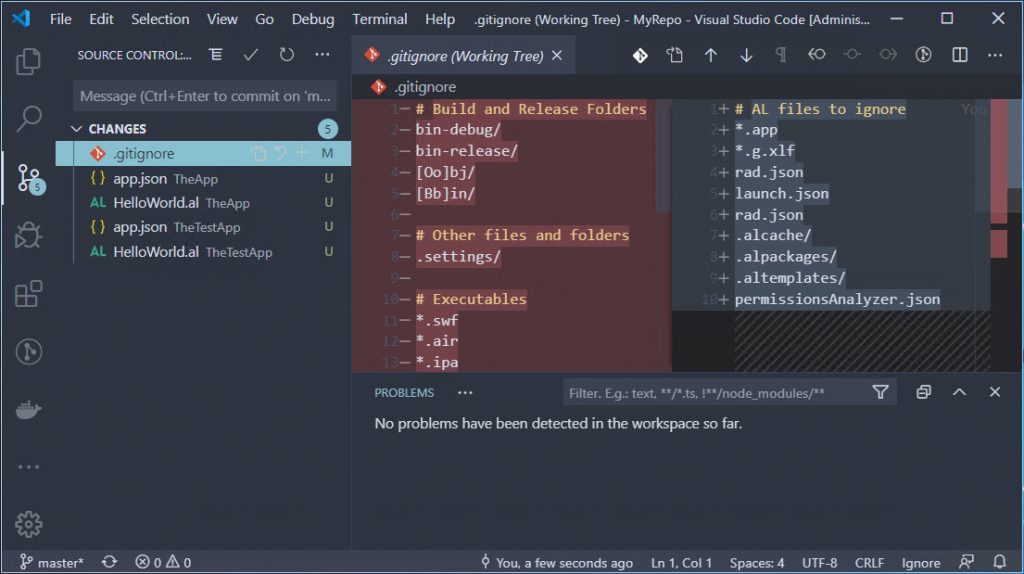
Going to the Source Control tab you can see that it tracks changes in both folders, and the single gitignore file works on both of them. How to set this up as an app and test app is for another post, but you now have one single repository with two apps.
Work on Each App Separately
When you are looking at MyRepo in VSCode, at some point you will get a message that the manifest is missing, and you’ll get all sorts of messages in the problems window. You can’t even download symbols like this. In other words… you can’t really work on your app like this. I usually keep a folder with some PowerShell to create my development containers, I plan to keep app documentation in there as well, and it appears that this is the right place to store some pipeline files. To work on the apps themselves though, you will have to open the app’s folders in VSCode individually.
It gets a little tricky here because VSCode will show all the modified files for the whole repository in the Source Control tab. If you have modified files in both the app as well as in the test app, whether you are looking at one or the other, you will see them all.
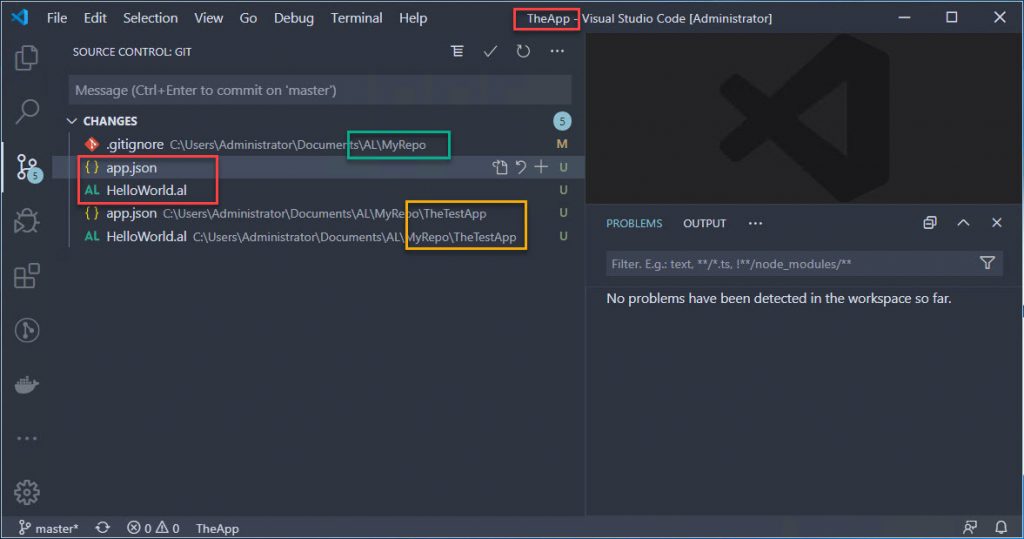
The green one is a change I made to the gitignore file, which is in the root folder for the main repository. The red ones are changes in the AL workspace called ‘TheApp’, and finally the yellow ones are in ‘TheTestApp’. Whether you are looking at MyRepo or either one of the apps, you can commit any changes that you select to your repo from the App/TestApp folders.
The good part though is that you can simply open the app folder and work on that as if it were part of its own repo. Then you can commit and sync, open the test app and work on that. At the end of the day, when all objects are checked in, the single repo includes the app itself as well as the test app.
Each folder is considered its own AL workspace, so you can modify settings for the app and for the test app. What I really like about this way of working is that everything is part of a single repo. Two Apps, One Repo!
Using Workspaces
VSCode has something called ‘workspaces’. You may have noticed a selection on the File menu called ‘Add Folder to Workspace’. When you then save the workspace, VSCode will save a collection of attributes in what is called a ‘code-workspace’ file. I’ve tried to make this work, and I was wrestling with it a little bit. For instance, settings are defined inside the ‘code-workspace’ file instead of a separate settings.json file.
In addition there were some other things that confused me a little bit, so I posted a quick poll to my favorite hashtag, asking the community what they do, and there were quite a few votes.
It seems there are a few people working on posts about workspaces, so I will defer to them. I am looking forward to reading about that!